
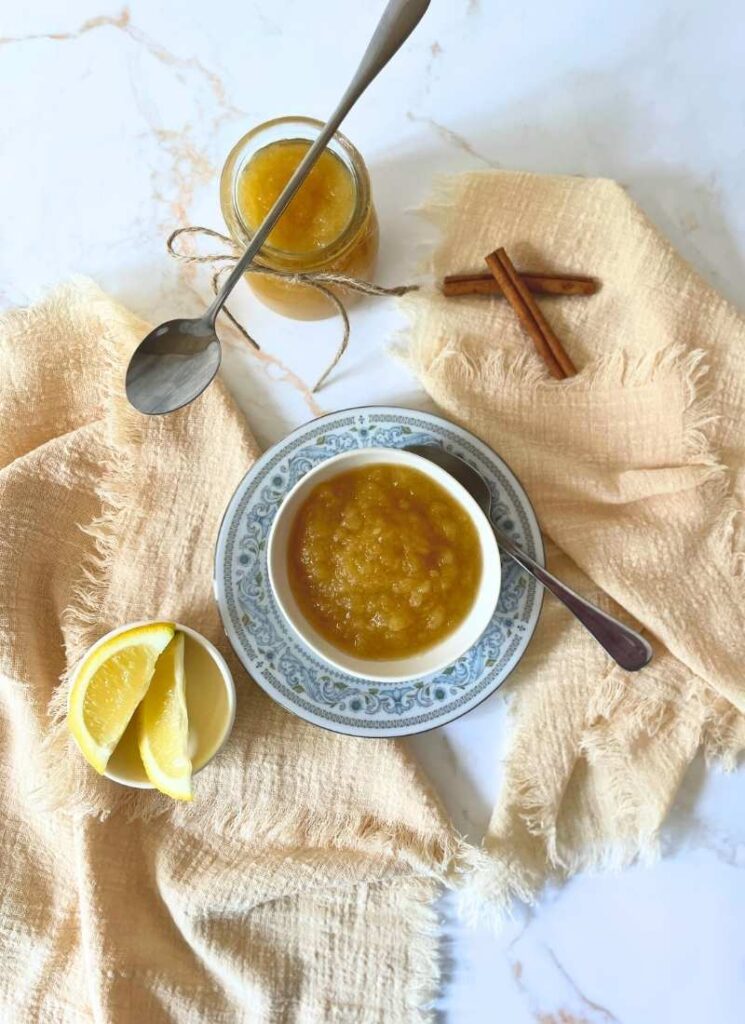
Traditional Stovetop Applesauce (Infused with Cinnamon Sticks)
There’s something timeless and comforting about a bowl of warm, stovetop applesauce—especially when it’s infused with the rich aroma of real cinnamon sticks. Whether you’re making it as a wholesome snack for your little ones or as a holiday side dish this recipe delivers the perfect balance of sweet, tangy, and spiced. You probably won’t want to buy store-bought applesauce again once you see just how simple it can be to make.
Why make applesauce from scratch?
Store-bought applesauce has its place, but nothing compares to the depth of flavor you get from simmering fresh apples with whole cinnamon sticks. I am also convinced that homemade applesauce is more vitamin-packed than store-bought, because we’re working with totally fresh ingredients.
When making applesauce from scratch, you also have the option to control the color, flavor, and texture according to your preferences. Some prefer a darker, richer looking applesauce and others like a light, delicate golden applesauce. Some love chunky, “farm-style” applesauce and others love a smoother, Swiss-style puree.
Today, we’re making a classic applesauce that is neither pureed to be texture-less nor chunky. I wanted to share a truly traditional recipe that will remind you and your family of childhood memories eating cinnamon Treetop applesauce (but even better, of course)!
Why make it on the stove?
Stovetop applesauce can be ready to eat in less than 30 minutes from apple to bowl. But slow-cooker applesauce requires a good 4-6 hours.
On the stovetop, we use a gently simmer and steaming process, so I don’t see the need to make the cooking process longer. The vitamins from the apples should remain largely intact (just be sure not to cook on high heat!).
Only 5 Ingredients
- Apples—the conventional wisdom is to choose a mixture of sweet and tart apples. But, in most cases, I am making applesauce to use up some apples we have on the counter that are starting to look a little mealy. I’ve never had a bad result from using just Granny Smith apples or just Honeycrisp apples, etc. As long as the apples are fairly fresh (and preferably organic!), I don’t think you’ll be disappointed in the flavor profile.
- Water—not too much! You only need a little bit of water to make applesauce (about 1/2 a cup for every three pounds apples.
- Cinnamon sticks—infusing a full-body cinnamon flavor via cinnamon sticks during the simmering process is 100% my preference. You can also add ground cinnamon if this is all you have, but I simply like the flavor better from the cinnamon being infused naturally from the sticks.
- Lemon juice—lemon juice prevents oxidation of the apple flesh but it also enhances and brightens the natural apple flavors. It’s an essential ingredient.
- Granulated sugar—adding sugar is optional but my preference is sprinkle some raw, granulated sugar on top during the simmering process. You can also choose light brown sugar if you like a richer color and a touch of molasses. Or, you can add honey or maple syrup but I don’t usually choose these, because I don’t like any other flavors competing with the natural apple flavors (unless it’s cinnamon, of course!).
Peeling and slicing your apples
This is the biggest lift during the stovetop applesauce making process: the peeling and the slicing.
Aim for even slices that as this will allow the apples to cook through evenly as well and make the simmering time on the stovetop shorter and more consistent, too.
However, if you and your family are big fans of apples, I highly recommend investing in a 3-in-1 apple peeler, corer, and slicer. Mine cost about $20, and I’ve used it more times that I can possibly count in the past few years.
Even still, I only recommend doing this if you truly love applesauce, apple pie, apple tarts, etc. Or, you have a large amount of apples that need to be canned and preserved. Otherwise, a $3 apple peeler and a kitchen knife can totally do the trick.
What if I want to leave the apple skins on?
By all means! You can omit the peeling step and go straight to just chopping up your apples, if you plan on blending your simmered applesauce mixture at the end in a blender. Be sure to cut around the core and leave out any seeds though!
While I personally, haven’t done this, I have certainly heard that leaving the skins on is a great way to add more fiber and enhance the apple aroma of your applesauce. I just do not have a food mill, nor, a reliable blender to choose this option (I’m still limping along my Ninja blender from college). Given this, I always choose to peel and core since I’d like to avoid the possible outcome of having a gritty or grainy sauce.
Note: be aware that leaving the skins on will also impact the color of your sauce. A red skin apple will give your sauce a rosy hue and a golden or green apple will give you a more golden, lightly colored hue than just using the apple flesh in your sauce.
Simmering your apples on the stove
Choose a heavy bottomed pot, such as a cast iron dutch oven, or whatever you have that is the least likely to burn your apple ingredients.
It’s important to simmer gently and to keep the lid on! High heat will burn your apples and could impact the texture, too.
The gentle simmering and steam is what should largely break down the apples into a sauce consistency. In the next step, you’ll want to mash or blend as well, but it’s the heat from the stove should be doing most of this work for you.

Mashing or blending your apples
On the stovetop, your apples will naturally begin breaking down during the simmering and steaming process. But even a chunky, farm-style applesauce will require a bit of mashing.
If farm-style is what you’re going for, you can just use a potato masher or a large fork and stop here. But for today’s recipe, I recommend tossing your applesauce into a blender to get a slightly smoother consistency.
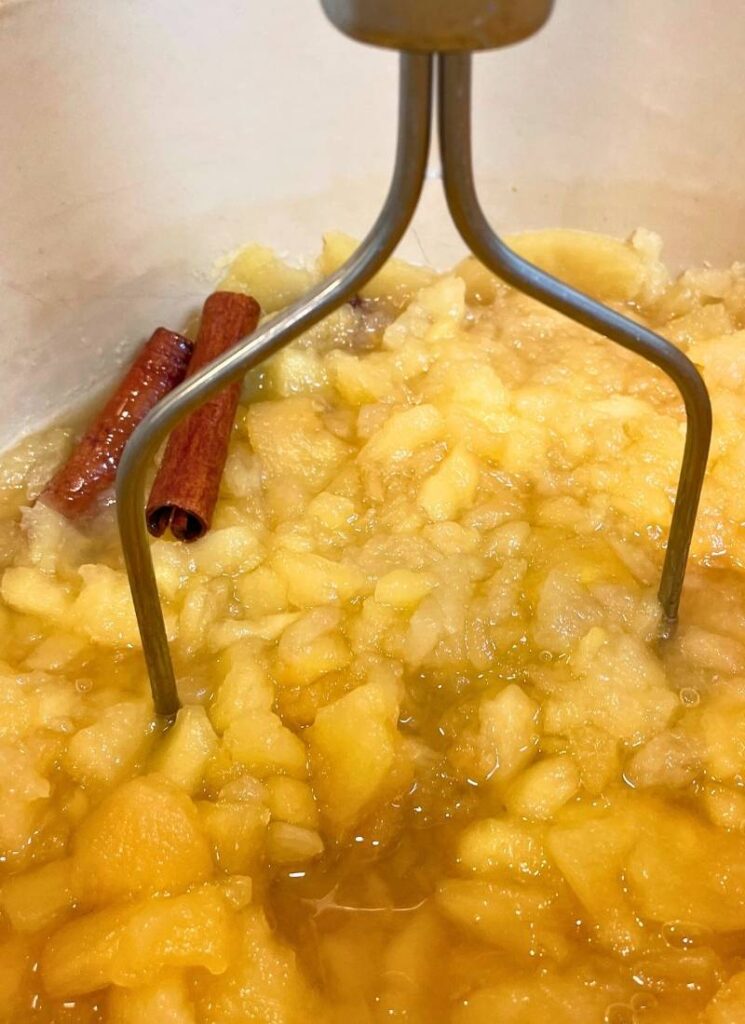
Once your applesauce looks like the photo above, scoop it out of the pot and place into a blender (or use an immersion blender and keep your sauce in the pot). Pulse for 3-5 seconds at a time.
Assess the consistency every few pulses to see if you have achieved your “Treetop” applesauce consistency. It should have very small chunks but not be chunky.
Note: if you’re using an immersion blender, be careful! Those process sauces quickly and you can very quickly turn your applesauce into a baby food consistency if you’re too enthusiastic with your blending.

Traditional Stovetop Applesauce (Infused with Cinnamon Sticks)
- Total Time: 30 minutes
- Yield: 6 servings 1x
- Diet: Low Salt
Description
Homemade applesauce in 30 minutes.
Ingredients
- 3 pounds of apples (approximately 6 large apples)
- 3 –4 tablespoons lemon juice (approximately the juice from 1 large lemon)
- 1/4 – 1/2 cup granulated sugar to taste (optional)
- 1 –2 whole cinnamon sticks
- 1/2 cup water
Instructions
- Prep the Lemon & Water Mixture
In a large saucepan or Dutch oven, add the water and juice from one large lemon. - Prep the Apples
Peel, core, and chop the apples into chunks and toss into your cooking pot with the water mixture and lemon juice. The apple slices don’t have to be perfect—just uniform enough to cook evenly. As you keep adding peeled and sliced apples, continue to coat them in the lemon water mixture to prevent browning. - Simmer the Ingredients
Cover your sauce pot and bring to a simmer over medium low heat. - Cook Until Tender
Let everything simmer gently for about 20–30 minutes, stirring occasionally. The apples should be soft and break apart easily when pressed with a spoon. Your kitchen will smell amazing. - Mash or Blend
Remove the cinnamon stick. For a chunky applesauce, mash with a potato masher or fork. For a smooth version, blend using an immersion blender or regular blender (careful—it’s hot!). - Taste and Sweeten
Taste your applesauce. If you want it sweeter, stir in a bit of maple syrup, honey, or sugar. But depending on your apples, you might not need any! - Cool and Store
Let it cool completely before transferring over to a jar or container(s). Store in the fridge for up to a week, or freeze for longer storage.
Notes
To speed up the process, I highly recommend using an apple peeler, corer, and slicer. It’ll easily save you 15 minutes every single time, and it helps ensure the apples cook evenly as well (because they all of the apple slices will be consistently sliced the same way).
- Prep Time: 10 minutes
- Cook Time: 20 minutes
- Category: Side Dish
- Method: Stovetop
Nutrition
- Serving Size: 1/2 cup
- Calories: 80 kcal
- Sugar: 17g
- Sodium: 1 mg
- Fat: 0g
- Saturated Fat: 0g
- Unsaturated Fat: 0g
- Trans Fat: 0g
- Carbohydrates: 22g
- Fiber: 3g
- Protein: ~.3g
- Cholesterol: 0g
Serving suggestions:
- Serve warm with pork chops or roasted chicken
- Spoon over pancakes, waffles, or oatmeal
- Swirl into yogurt or cottage cheese
- Use as a substitute for oil or sugar in baking
- Or just eat it by the bowlful—no judgment here (in our house, homemade applesauce goes quick!)
Avoiding common stovetop applesauce mistakes
Not soaking your peeled apples in lemon juice & water—most people cannot peel their apples quick enough to prevent the browning that occurs on the skin from oxidation with air. If you want to have a very light applesauce this is a critical step to not overlook.
Simmering your apples for too long—it should be a short, gentle simmer. If you simmer your ingredients on the stove for too long, you’ll be well on your way to making apple butter, not applesauce. The sugars will continue to caramelize into a richer, darker color. Too much simmering impacts the texture too. It becomes thicker (like apple butter) as the water is evaporated out of the sauce.
Adding too much water—when you first place your peeled apples into the pot and turn on the stove, it can be a little unsettling to see how little a 1/2 cup of water looks like in the pot. But, do not fret, because once you put the lid on your pot and simmer gently, the apples will start to breakdown and create their own moisture. Remember, you can always cook low and slow and add more water later. But it’s going to be difficult to take out extra water without changing the recipe. Sure, you can evaporate extra water but simmer your apples too long and you have apple butter, not applesauce!
Forgetting about the apple peels—it’s A-OK if you want to keep the skin on your apples. But make sure you have a high-powered blender to blend the peels throughout the mixture. Or, that you have a food mill that can filter out the pieces of apple peel.
Tips & Variations:
- Try adding a pinch of nutmeg or cloves for extra spice.
- Want a richer texture? Use unpeeled apples (just blend well).
- If you like a darker applesauce, then add powdered cinnamon vs. infusing your cinnamon with cinnamon sticks. You can also choose to let your apples brown a bit in the water versus coating in the lemon water mixture that prevents browning. The type of apples you choose here also impact color.
- For slow-cooker fans: toss everything into the crockpot and cook on low for 4–6 hours.
Final Thoughts
Homemade applesauce is one of those simple pleasures that feels like a hug in a bowl.
I plan to continue incorporating homemade applesauce into our diet on a regular basis and want to try incorporating it into more baked goods (applesauce cake, anyone?!) and would like to experiment with adding it to our morning oatmeal as well (I’ll keep you posted on how this turns out!).
With just a few ingredients and minimal effort, you get something deeply flavorful and nourishing. And it’s such a great way to use up apples that are past their prime for snacking and no longer have a sharp crunch. Don’t throw those apples out! Make some yummy homemade applesauce instead.
Grab those apples and let’s get simmering!